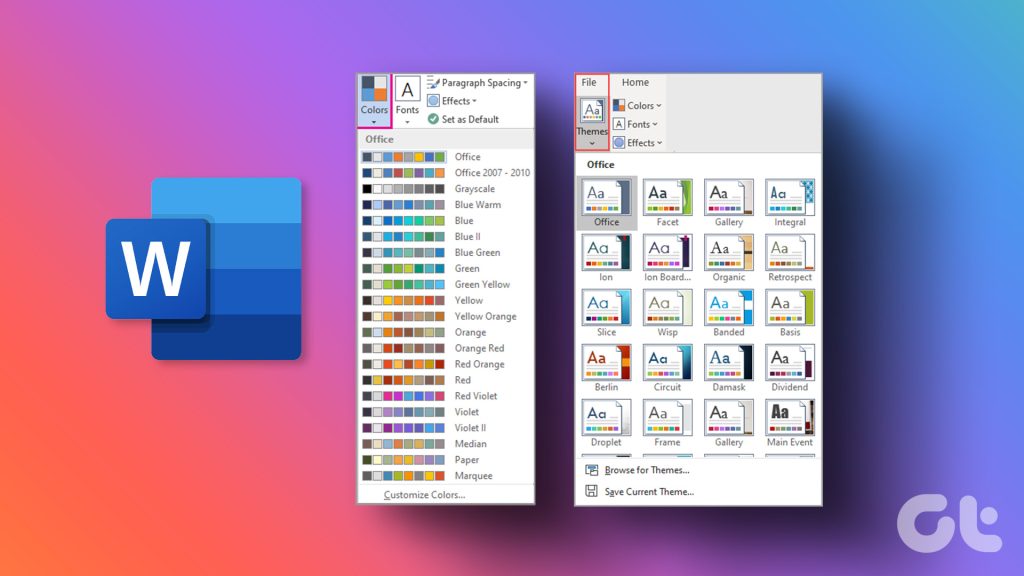
To personalize your document, you are not limited to the default color schemes and themes in Microsoft Word. You can also create a custom color scheme and save these sets or themes as templates for future use. By creating your custom color scheme, you can apply a unique, personalized touch to the appearance of your document.

You can create a custom color scheme by modifying an existing theme or by combining your own color preferences. Here’s how to create your custom color scheme and theme. The solutions will work on Windows and Mac, but there may be a difference in the interface.
How to create a custom color scheme
In Microsoft Word, a color scheme is a collection of colors used to organize and store colors. The color scheme can include different variations of the same color, colors that go well together, colors that are often used, or colors that are used for a specific design. Here’s how you can create your own unique color scheme on Microsoft Word.
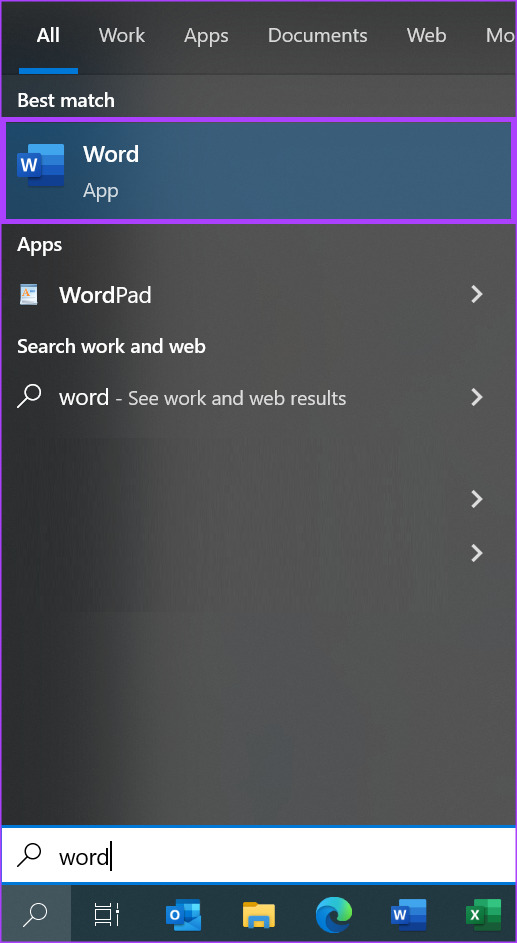
Step 1: Click the Start button and type word to search for the app.

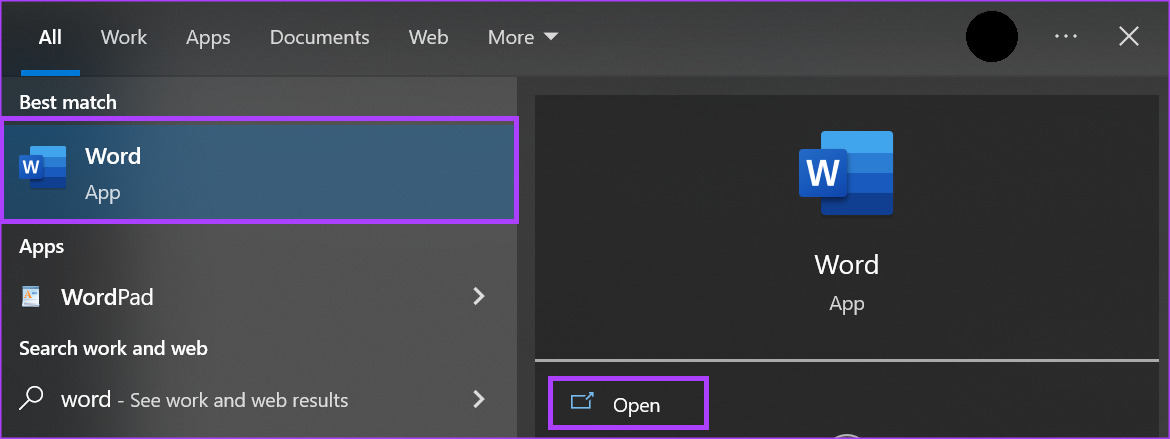
2nd step: From the results, click on the Microsoft Word application or document to open it.

Step 3: In the Microsoft ribbon at the top of the window, click the Design tab.

Step 4: In the Design group, click the drop-down menu under the Colors option.

Step 5: When the drop-down list reveals several options, click the Customize Colors button to launch the “Create New Theme Colors” dialog.

In the “Create New Theme Colors” dialog box, you will see two views – the Theme Colors view and the Sample view. In the Sample view, you see how the color selections you make under Theme Colors would appear on a live Word document. The view under Sample is divided into dark and light backgrounds.
Step 6: Under the Theme Colors view, click the drop-down menu next to Text/Background Color, Accent Color, or Hyperlink Color.

Step 7: From the drop-down list, select a color from the default Word options shown under Theme Colors and Standard Colors or click More Colors to choose a custom color.

If you click on the More Colors option, it will open another dialog box. In the More Colors dialog box, click the Custom tab.

Step 8: In the Custom menu, click the color model to choose between providing the RGB (red, green, and blue) or HSL (hue, saturation, and lightness) value of your custom color.

Step 9: After setting your color values in the RGB or HSL fields, click OK to close the More Colors dialog and your color should now appear under Theme Colors.

The newly created color will also appear under your recent colors.
Step 10: Update all text/background, accent, and hyperlink colors to your preference, then click the text box next to Name to assign a custom name to your new color scheme.

Step 11: Click Save to save your new color scheme and close the dialog box.

How to Create a Custom Font Set
To create a custom theme in Microsoft Word, you must combine a color scheme and a font scheme. Creating a color scheme has already been discussed above. So here’s how to create a custom font set for your custom theme.
Step 1: Click the Start button and type word to search for the app.

2nd step: From the results, click on the Microsoft Word application or document to open it.

Step 3: In the Microsoft ribbon at the top, click on the Design tab.

Step 4: In the Design group, click the drop-down menu under the Font option.

Step 5: In the drop-down list, click the Customize Fonts button to launch the “Create New Theme Fonts” dialog.

Step 6: Click the drop-down menu under Title Font and select your preferred font for the theme.

Step 7: Click the drop-down menu under Body Font and select your preferred text font for the theme.

The changes you make under the title and body font will be visible in the sample window.
Step 8: Click the text box next to Name to enter a name for your new theme fonts.

Step 9: Click Save to save your new changes and close the dialog box.

How to create a custom theme
Now that you have your custom color scheme and font scheme, here’s how you can create a custom theme.
Step 1: When a Word document is open, click on the Design tab of the Microsoft Ribbon at the top.

2nd step: In the Design group, click the drop-down menu under the Colors option.

Step 3: Click the name of your custom color scheme to apply it.

Step 4: In the Design group, click the drop-down menu under the Fonts option.

Step 5: Click the name of your custom font set to apply it.

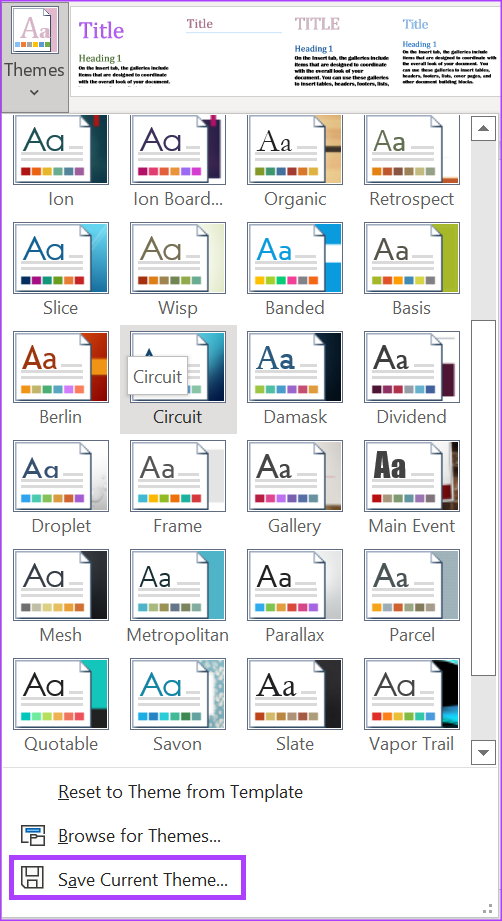
Step 6: In the design group, click the drop-down menu under the Themes option.

Step 7: At the bottom of the drop-down list, click the Save Current Theme button and it will launch your file library.

Step 8: Enter a name for your new theme and click Save.

Create a Custom Dictionary in Microsoft Word
A custom color scheme or theme isn’t the only Microsoft Word feature you can customize. You can also create a custom dictionary in Microsoft Word. This way, when you use a modern phrase or slang in your document, Word no longer flags it as an error.
