With the Xbox One game console, you can experience real 4K games with 4K entertainment. So when you upgrade from an Xbox 360 or an earlier version, be sure to designate the console as your home Xbox first. Use this tutorial as a guide to designate the Xbox One console as a home Xbox.
Designate the Xbox One console as your home Xbox
The game console offered by Microsoft comes with high-end titles promising you a world of exceptional digital entertainment. The first step after completing your purchase is to set up your Xbox One, both physically and digitally. This last process involves designating your Xbox One console as your Homebox.
- Open the Xbox guide
- Select a profile and go to Settings.
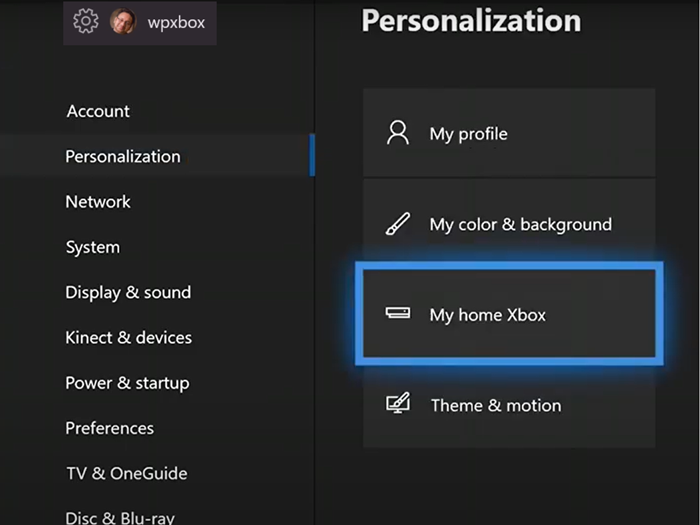
- Switch to Personalization
- Select the device as your Homebox.
If you don’t know what you mean by Homebox, we’ll explain it to you. The first time you sign in to an Xbox One using your Microsoft account and save your password, that console becomes your home Xbox. It allows you to share games and content with other people who connect to it with their profile.
Press the Xbox button to open the guide.
Select Profile and system and go to ‘Settings“
From the options displayed in the left sidebar, select “Personalization“
Then switch to the right pane and scroll down to ‘My Xbox home“

Click on the option to make the console your Homebox.
You can also click it again to remove the device from the Homebox designation.
It is important to remember here that when you change your home console, all device licenses for digital content will automatically be migrated to your new home Xbox and will no longer be available on your old home Xbox.
In addition, Microsoft allows you to change your home Xbox up to five times a year.
If you reach your limit for the year, you will receive a new date on which you can change it again.