Install the Stadia app on rooted Android devices
For this guide to work, we will make Stadia believe that your device is indeed a Pixel handset. And this is only possible on a rooted Android device. Make sure you have at least Magisk 18 or higher. That said, here are the steps to install the Stadia app on any Android device. But before that, we would like to clarify one thing. Google Stadia is only supported in 14 countries, right now.
So if you don't belong to the list of supported countries, you won't be able to try the app. Indeed, this guide does nothing to bypass the geographic restriction, it is designed to bypass only the device restriction. However, even if you are not a resident of any of these countries, you can still try all the steps mentioned below and download the Stadia app (from a site Third-party web, not possible via Play Store due to geographic restrictions). And get a Google ID from one of your friends living in one of these countries and try the games.
Now that everything is clear, here are the steps to download and install the Stadia app on any rooted Android device. On this note, also consult its competitor, namely the NVIDIA GeForce Now app for Android.
Step 1: install the Xposed frame
To install the Stadia app on any Android device, we will need an Xposed module, and for that you need the Xposed framework. If you have installed Magisk Manager, installing the framework is just a breeze. Here are the steps to do so:
- Open the Magisk Manager on your Android device.
- Press the hamburger menu and go to Downloads section.
- Search Riru-Core and Riru-Edxposed modules. First, try the SandHook version of Riru-EdXposed. If that doesn't work for you, uninstall the Sandhook version and try it YAHFA a. For Riru-Core, there is only one version to install.
- After installing the Core and EdXposed modules, to restart your device once. Finally, install the EdXposed installation application.
So these are the steps to install Xposed on rooted devices. If you're still having trouble installing it, see our detailed guide install the Xposed Framework on Android devices. Now refer to the next set of instructions to install Stadia on any Android device.
Step 2: Installing Stadia on Android via the Xtadia Xposed module
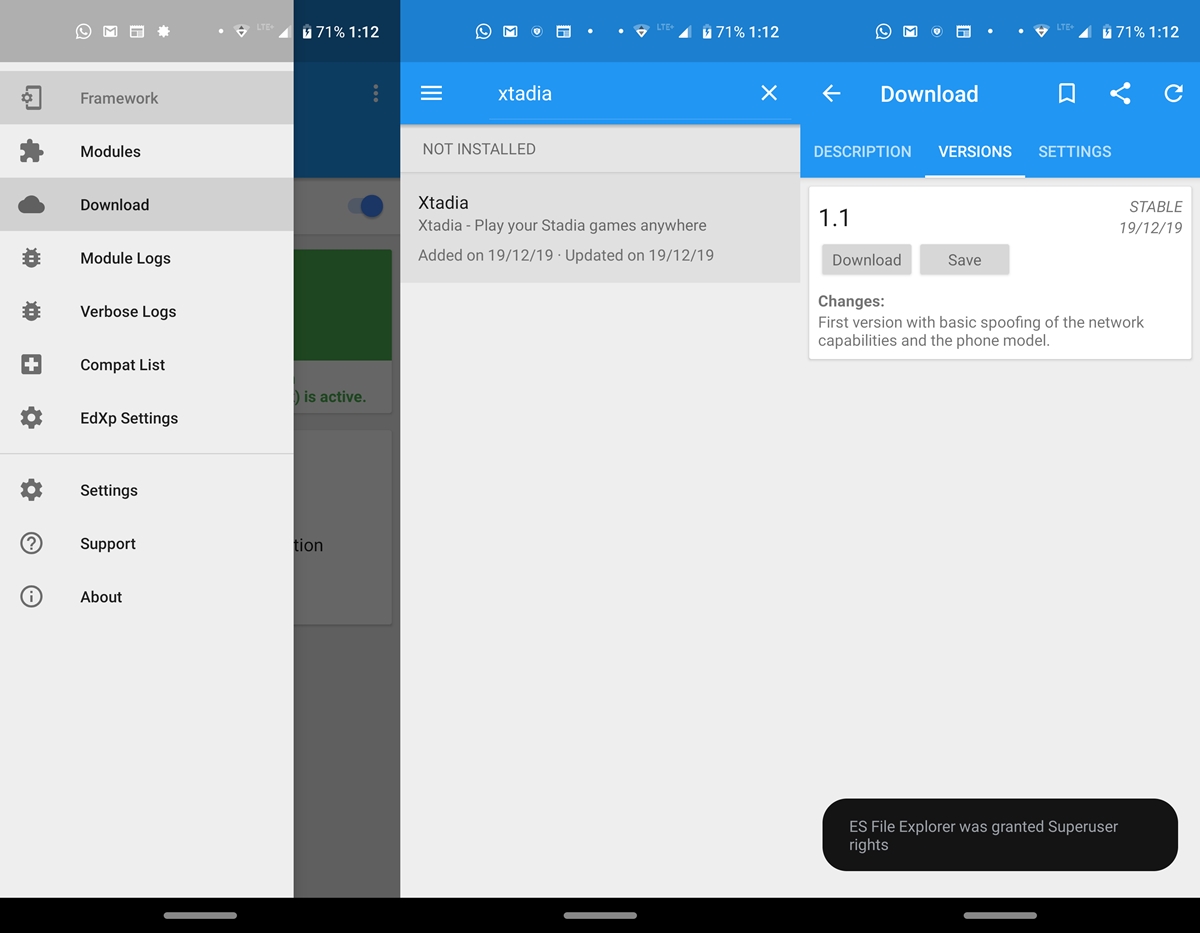
- Open the EdXposed app that you recently installed. You might receive a warning message, press D & #39; AGREEMENT.
- Then press the hamburger menu and go to Downloads section.
- Find the Xtadia module and go to the versions section. This module will allow you to install the Stadia application on any Android device.
- Go ahead and hit the Download button. You can also get a popup window to activate Unknown sources before you can install an APK. Tap settings and turn on the toggle next to Allow from this source.
- Return to the app, install said module and to restart your device once. Make sure that Xtadia is checked in the Modules section.
Now follow the last section to finally start installing the Stadia app on any Android device. In addition, here are the best live streaming apps for games on Android that you should definitely check out.
Step 3: install Google Stadia
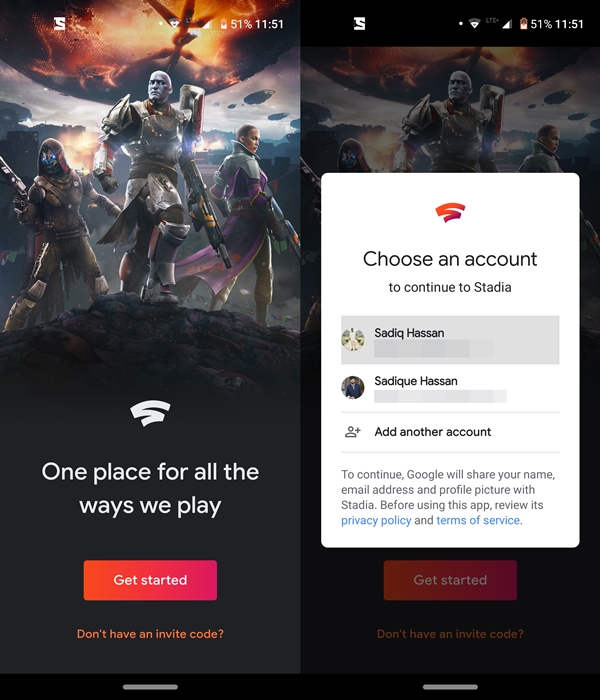
Now that you've successfully installed the Xposed Framework, the required modules, and the EdXposed app, it's time to give the Stadia app a try. To do this, download the app from the Play store, install it on your device and start enjoying the games available in your library.
So these are the steps to download and install Google Stadia on a rooted Android device. Since the app is not officially available for your device, you may not get the optimal experience when streaming these games. Either way, it's still a practical workaround.
Then read: 50 best root apps for Android devices


