Apple’s Notes app on iPhone acts as a repository to store all your important ideas, addresses, directions, recipes, and more that you might miss. Whether you’re pasting links or jotting down your to-do lists, you’ll get a bunch of notes over time. And it can be tiring to sift through those notes to find one in particular.

To better organize your notes and make it easier to find them, you can put them in folders in the Notes app. To get a head start, you can use Smart Folders in the Notes app to help you choose the right ones whenever you want to search for a specific note or detail. This article will share the steps to use Smart Folders in Notes app on your iPhone, iPad, and Mac.
Use Smart Folders in the Notes app on your iPhone and iPad
You can take your notes using your iPhone or iPad while on the go. Later, you can organize them into smart folders. You might have used folders to manage different notes in the app. Smart Folders help you better organize these notes so you can quickly find the relevant note(s) with specific details. Here’s how to use Smart Folders in the Notes app.
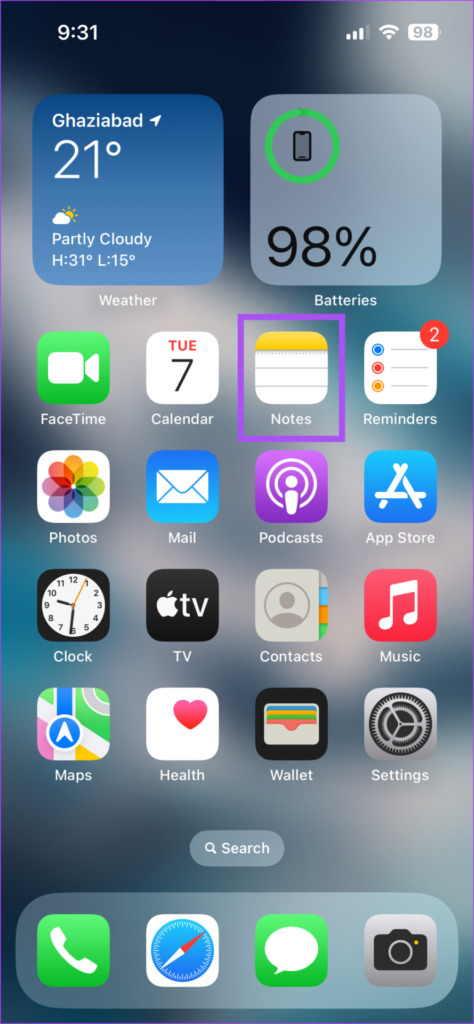
Step 1: Open the Notes app on your iPhone or iPad.

2nd step: Tap Folders in the upper left corner.

Step 3: Tap the New Folder button in the lower left corner.

Step 4: Give your smart folder a name and tap Create smart folder.

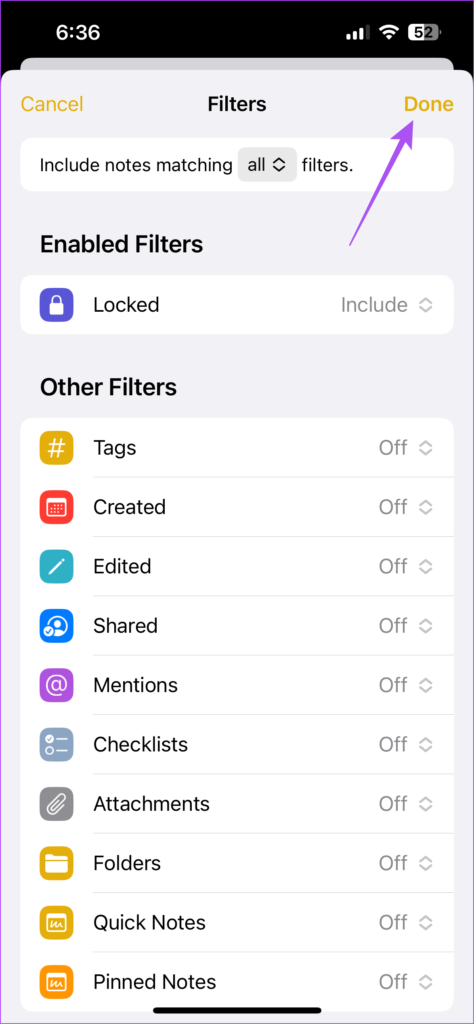
You will now see options to set filters for your smart folder. The Notes app will automatically add notes to your smart folder based on the filters you’ve selected.

Step 5: Tap the drop-down menu next to a filter name and choose between Any tag, Any tag selected, All tags selected, or No tag. After that, the filter will appear in the Activated Filters section. You can always modify the settings of any filter to choose the tags in this section.
Step 6: Tap Done in the top right corner to confirm.

Step 7: Tap Done in the upper right corner again to create the smart folder.

You’ll see notes automatically added to Smart Folders based on your filter selection.

You can also use tags to create smart folders in the Notes app.
How to Delete Smart Folder in Notes App on iPhone and iPad
If you no longer need a smart folder, you can get rid of it. The best part is that when you delete a smart folder, the notes in it will stay in their regular folders and won’t be deleted. Here’s how to delete your smart folder in the Notes app on your iPhone or iPad.
Step 1: Open the Notes app on your iPhone or iPad.

2nd step: Swipe left on your smart folder name.
Step 3: Tap the Delete icon on the right side.

Step 4: Tap Delete Smart Folder at the bottom to confirm.

Use Smart Folders in Notes app on Mac
If you prefer to use your Mac to take notes, you can also create smart folders within the app. But this feature is only available if you are using macOS Ventura or above on your Mac. That’s why we recommend updating macOS if you want to use Smart Folders in the Notes app.
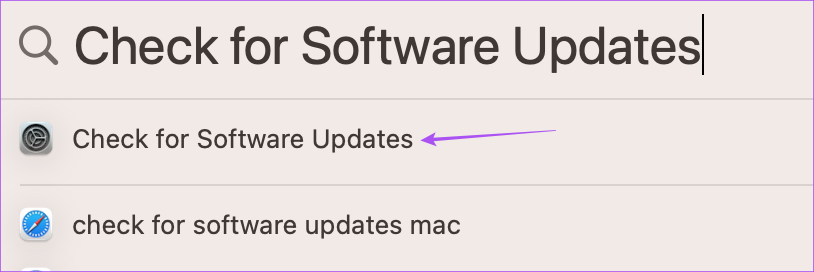
Step 1: Press Command + Spacebar to open Spotlight Search, type Check for software updates, and press Return.

2nd step: If an update is available, download and install it.
After that, here is how to use smart folders in Notes app.
Step 1: Press Command + Spacebar to open Spotlight Search, type Remarks, and press Return.

2nd step: Click New Folder in the lower left corner.

Step 3: Assign a name and click the toggle next to Create in Smart Folder.

Step 4: Select a filter from the drop-down menu based on which your notes will be included in the smart folder.

Step 5: Click OK at the bottom right to confirm.

Your smart folder will be visible in the left panel.

How to Delete a Smart Folder in Notes App on Mac
Here’s how you can remove the smart folder in the Notes app on your Mac.
Step 1: Press Command + Spacebar to open Spotlight Search, type Remarks, and press Return.

2nd step: Select your smart folder.

Step 3: Click on the three dots next to the name of your smart folder.

Step 4: Click Delete Folder.

Step 5: Click Delete again to confirm.

Organize your notes
You can use Smart Folders to better manage your stored information and easily access your data. You can also read our article to learn more about how to lock notes in Notes app.
