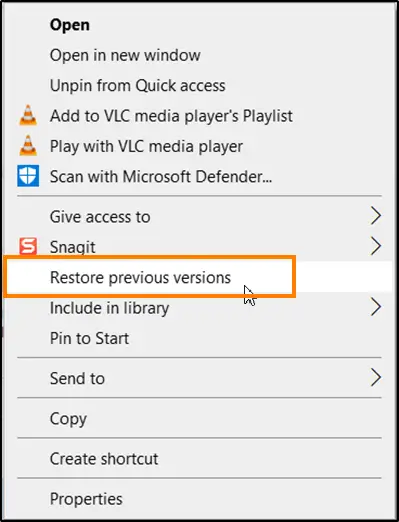
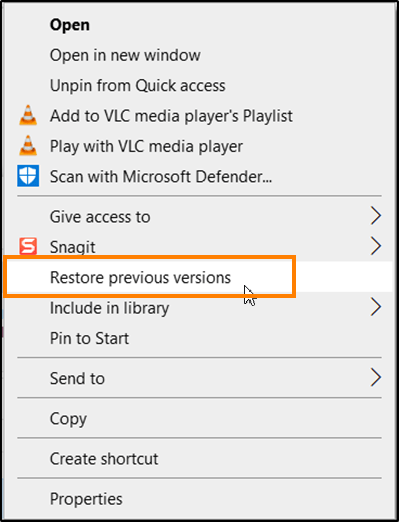
When most of your attempts to find a file on your computer fail or do not yield the desired results, you try to restore it from a previous version. It helps you restore files and folders that you accidentally deleted or damaged, but if you don’t use this option, you can delete them. In this post, we show you to delete Restore previous versions in the context menu of Windows 10.
Delete entry Restore previous versions from context menu
Previous versions can be viewed as copies of files and folders created by Windows Backup or those that the operating system automatically saves as part of a restore point. Depending on the type of file or folder, you can open, save to another location, or restore a previous version.
- Open the Registry Editor.
- Go to the following key HKEY_LOCAL_MACHINE SOFTWARE Microsoft Windows CurrentVersion Shell Extensions Blockere.
- Create a new string value – {596AB062-B4D2-4215-9F74-E9109B0A8153}.
- Keep the data value for the above entry blank.
- Restart your PC.
Press Win + R in combination to open the ‘Run‘ dialog box.
Type “regedit“In the empty field of the box and press”Enter“
When the Registry Editor opens, navigate to the following path address –
HKEY_LOCAL_MACHINESOFTWAREMicrosoftWindowsCurrentVersionShell ExtensionsBlocked.
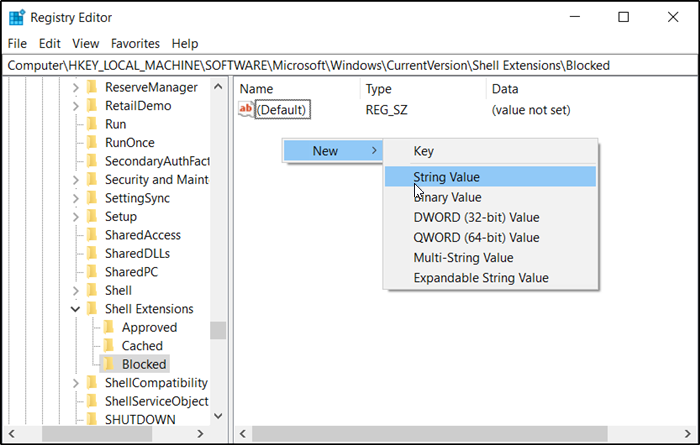
Now go to the right pane and create a new string value –
{596AB062-B4D2-4215-9F74-E9109B0A8153}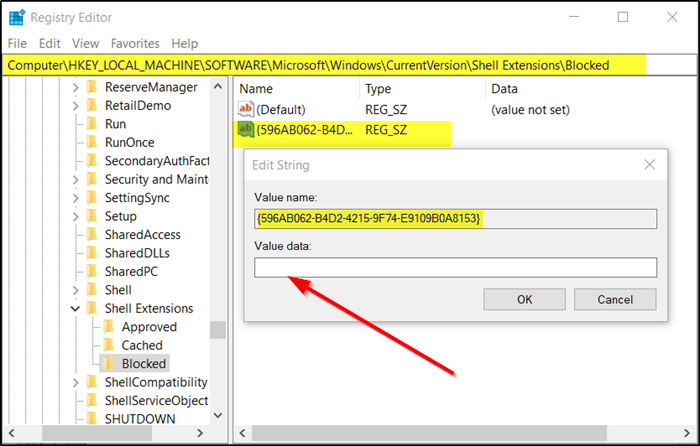
Keep the data value for the above entry blank.
Close the Registry Editor and exit.
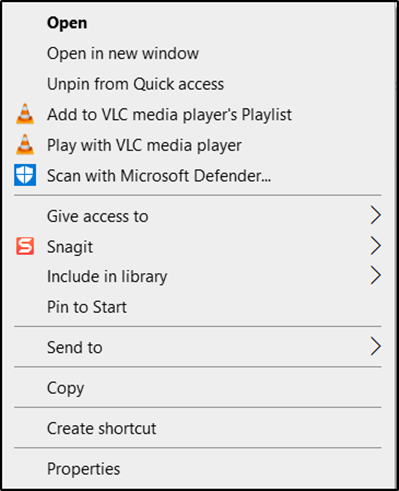
Restart your PC. The ‘Restore previous versions’Should no longer be visible under the right-click context menu in Windows 10.
If desired, you can also remove the Share item from the right-click context menu.
