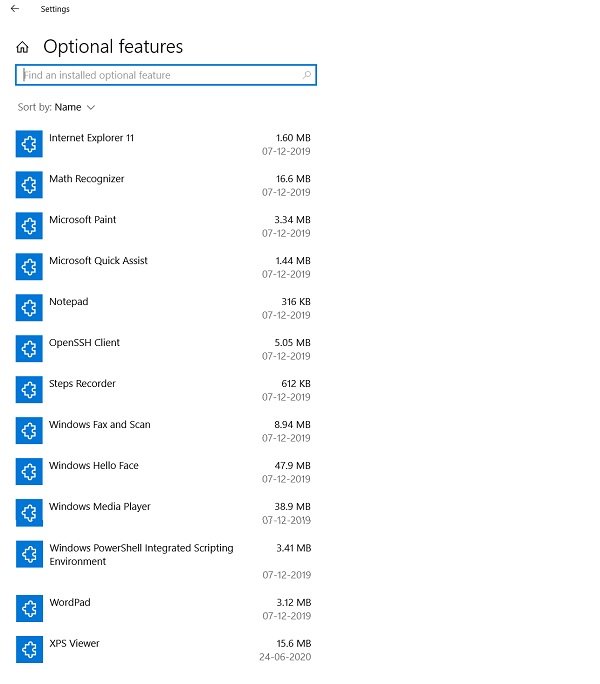
After being a default application for almost 30 years, Notepad is now an optional feature on your Windows PC. Notepad is the simple text editor used and appreciated by Windows users for years, especially developers and programmers. It is designed to create and edit basic text files.
The notebook used to be part of a non-removable Windows PC, but recently Microsoft made it an optional feature, which means you can uninstall it from your PC and reinstall it if necessary after have downloaded from the Microsoft Store. In this article, we will learn how to uninstall Notepad from your Windows PC and how to reinstall if necessary.
How to uninstall Notepad on Windows 10
To uninstall Nopetad from your computer running Windows 10 v2004 or later:
- Press Win + I to open the settings.
- Go to Applications> Applications and Features.
- In the right pane, click ‘Optional features’
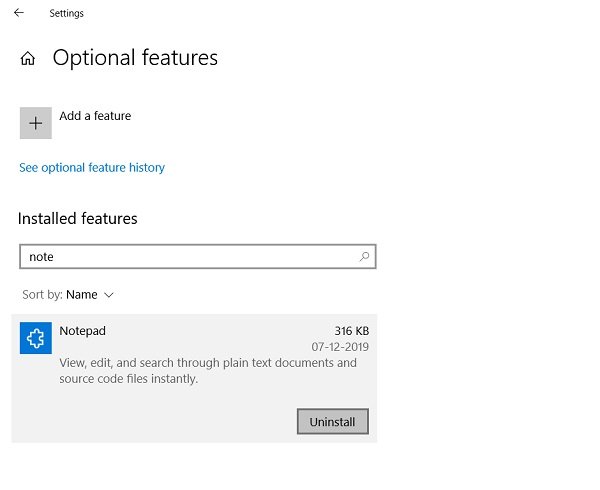
- Type Notepad in the search field and click on Uninstall.

If you cannot find Notepad in the list of applications in your settings, you are probably not running the latest version of Windows 10. First update your PC and try again.
How to install Notepad on Windows 10
If you’ve uninstalled the Notepad app and want to recover it, you can easily reinstall it in a few simple steps.
- Open Settings and go to Applications and features
- In the right pane, click Optional features.
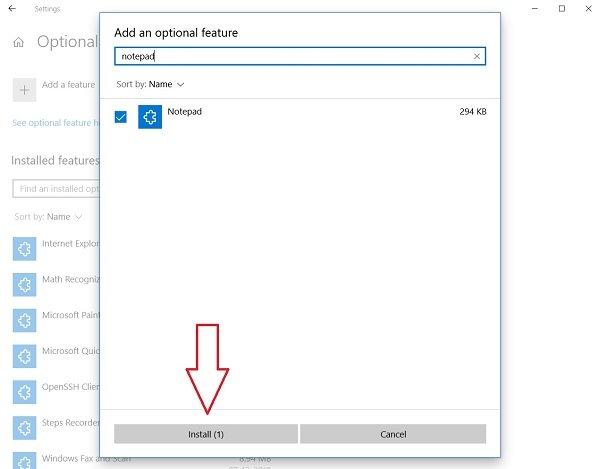
- Click on Add a function
- Type Notepad in the search bar or scroll down to find it.
- Click on Notepad and Install.

Alternatively, you can also search Notepad on the Microsft store and download / install it directly from there.
Now, when Notepad is available on the Microsoft Store as a standalone application, it will be updated independently.
Microsoft is quite open to comments and feedback from users so that they can add new functionality to this basic text editing application.
Related Reading: How to reset Notepad to default settings in Windows 10.
 >
>

