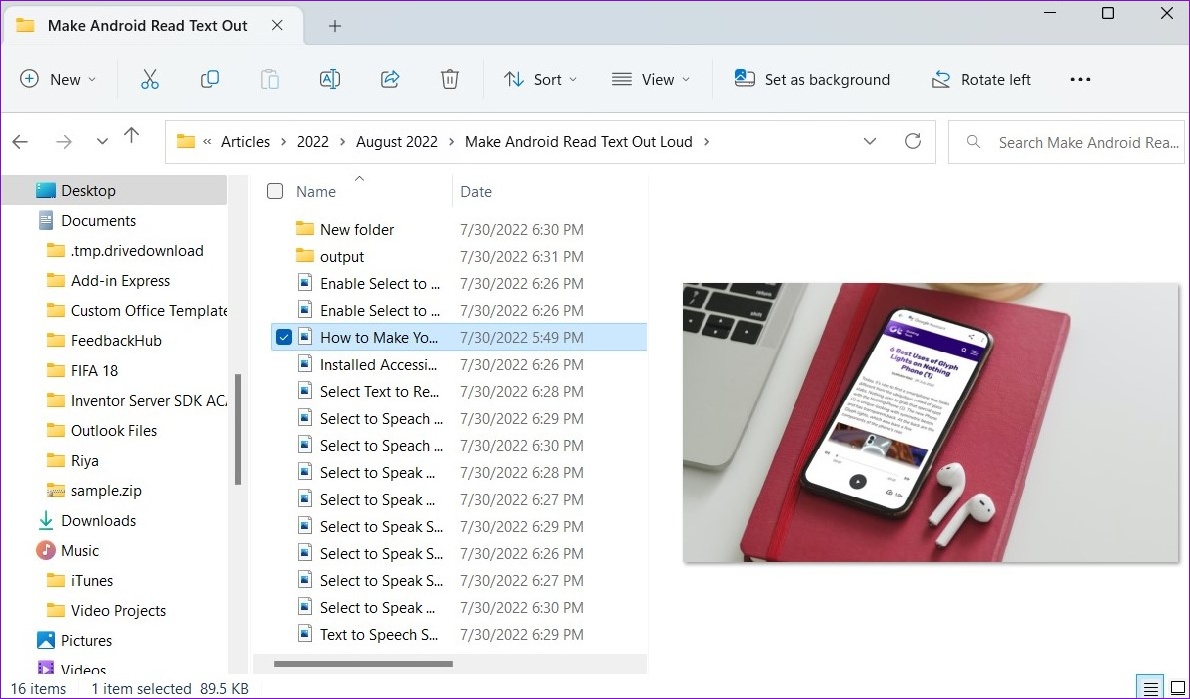
In Windows 11, the File Explorer Preview pane can give you a preview of a file without opening it. You can use the Preview pane to preview images, videos, documents, etc. Very useful to see the snapshot of the file type before opening it.

Sometimes the Preview pane may not detect certain obscure file types. Worse still, the Preview pane may not appear to show all thumbnails of your files. Luckily, there are a few troubleshooting tricks to get the Preview pane back to normal. So, let’s check them out.
1. Enable Preview Pane
If the preview pane is missing from File Explorer, it may have been disabled. Here is how you can get it back on your Windows 11 computer.
Step 1: Press Windows Key + E to open File Explorer.
2nd step: Click on the View menu at the top, go to View and check the Preview Pane option.

The Preview pane will appear to the right of the Explorer window. You can browse a folder and select any file to preview it.

The Preview pane may not appear if the File Explorer window is too narrow. You will need to maximize the window view to get the most out of the Preview pane.
2. Check File Explorer Options
When the Preview pane is enabled, it may not function normally if handlers are not enabled. These handlers are responsible for displaying the read-only style snapshot of the file you select. Here’s how.
Step 1: Right-click the Start icon and select File Explorer from the list.

2nd step: Click the three-dot menu icon at the top and select Options.

Step 3: In the File Explorer Options window, switch to the View tab and check the “Show preview handlers in the preview pane” box.

Step 4: Uncheck “Always show icons, never thumbnails”. Then press Apply followed by OK.

Restart File Explorer after that and see if the issue still occurs.
3. Restart Windows Explorer
Windows Explorer is a critical process that provides the graphical user interface (GUI) for several Windows utilities, including File Explorer. If the process encounters problems, some features such as the Preview pane may stop working. You can fix these issues by simply restarting the Windows Explorer process.
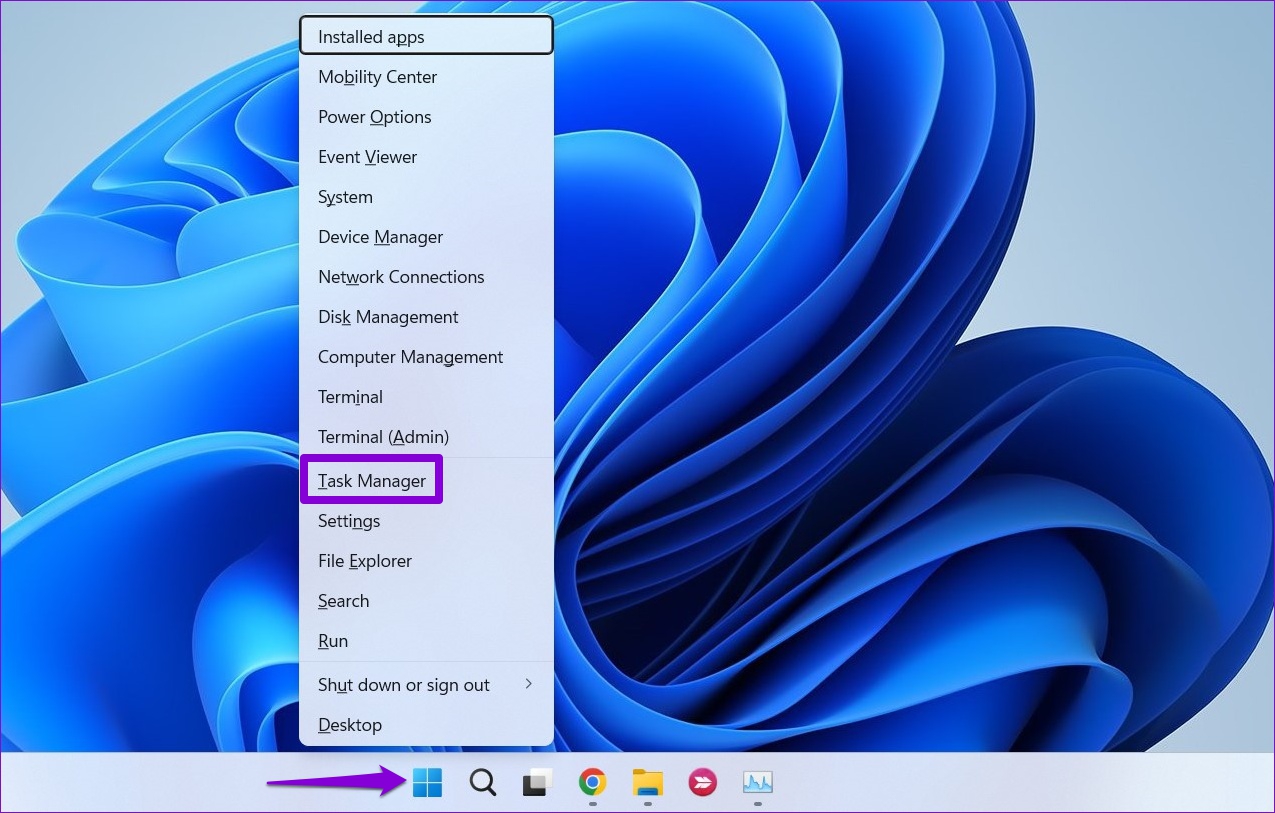
Step 1: Right-click the Start icon or press Windows key + X to access the Power User menu and select Task Manager.

2nd step: On the Processes tab, find Windows Explorer. Right-click on it and select Restart.

The taskbar will disappear for a few seconds before reappearing. After that, check if the Preview pane is working.
4. Adjust performance options
Windows 11 advanced system settings allow you to change visual effects, memory usage, CPU scheduling, and more. If you have ever changed any of these options to prioritize performance, the preview pane may stop working. Here’s what you can do to fix it.
Step 1: Open the Start menu and click on the gear icon to launch the Settings app.

2nd step: In the System tab, scroll down to select About.

Step 3: Click Advanced System Settings.

Step 4: On the Advanced tab, click the Settings button under Performance. This will open the Performance Options window.

Step 5: Select “Adjust for best appearance”, then click the Apply and OK buttons.

5. Run a System File Checker (SFC) scan
Some Windows functions may not work properly if some system files on your PC are corrupted or missing. You can run an SFC (System File Checker) scan to detect and repair these damaged system files on Windows.
Step 1: Press Windows key + S to access the search menu and type Terminal in the box. Right-click on the first result and select Run as administrator.

2nd step: In the console, type the following command and press Enter.
sfc /scannow

SFC will scan all protected system files and if it finds any errors, you will get instructions on how to fix them.
After the scan is complete, restart your PC and check if the preview pane is working.
6. Reset File Explorer Settings
If nothing works, you can reset File Explorer settings as a last resort. Here’s how.
Step 1: Open the search menu, type File Explorer Optionsand select the first result that appears.

2nd step: Under the General tab, click the Restore Defaults button.

Step 3: Next, switch to the View tab and click the Restore Defaults button. Then press Apply followed by OK.

Restart File Explorer after that and the Preview pane should work as before.
Preview Files on Windows
It’s no secret that File Explorer isn’t the most reliable utility on Windows 11. However, such issues with the Preview pane shouldn’t require you to open every file to view its contents. . Going through the solutions above should help you fix the preview pane on Windows 11 in no time.
