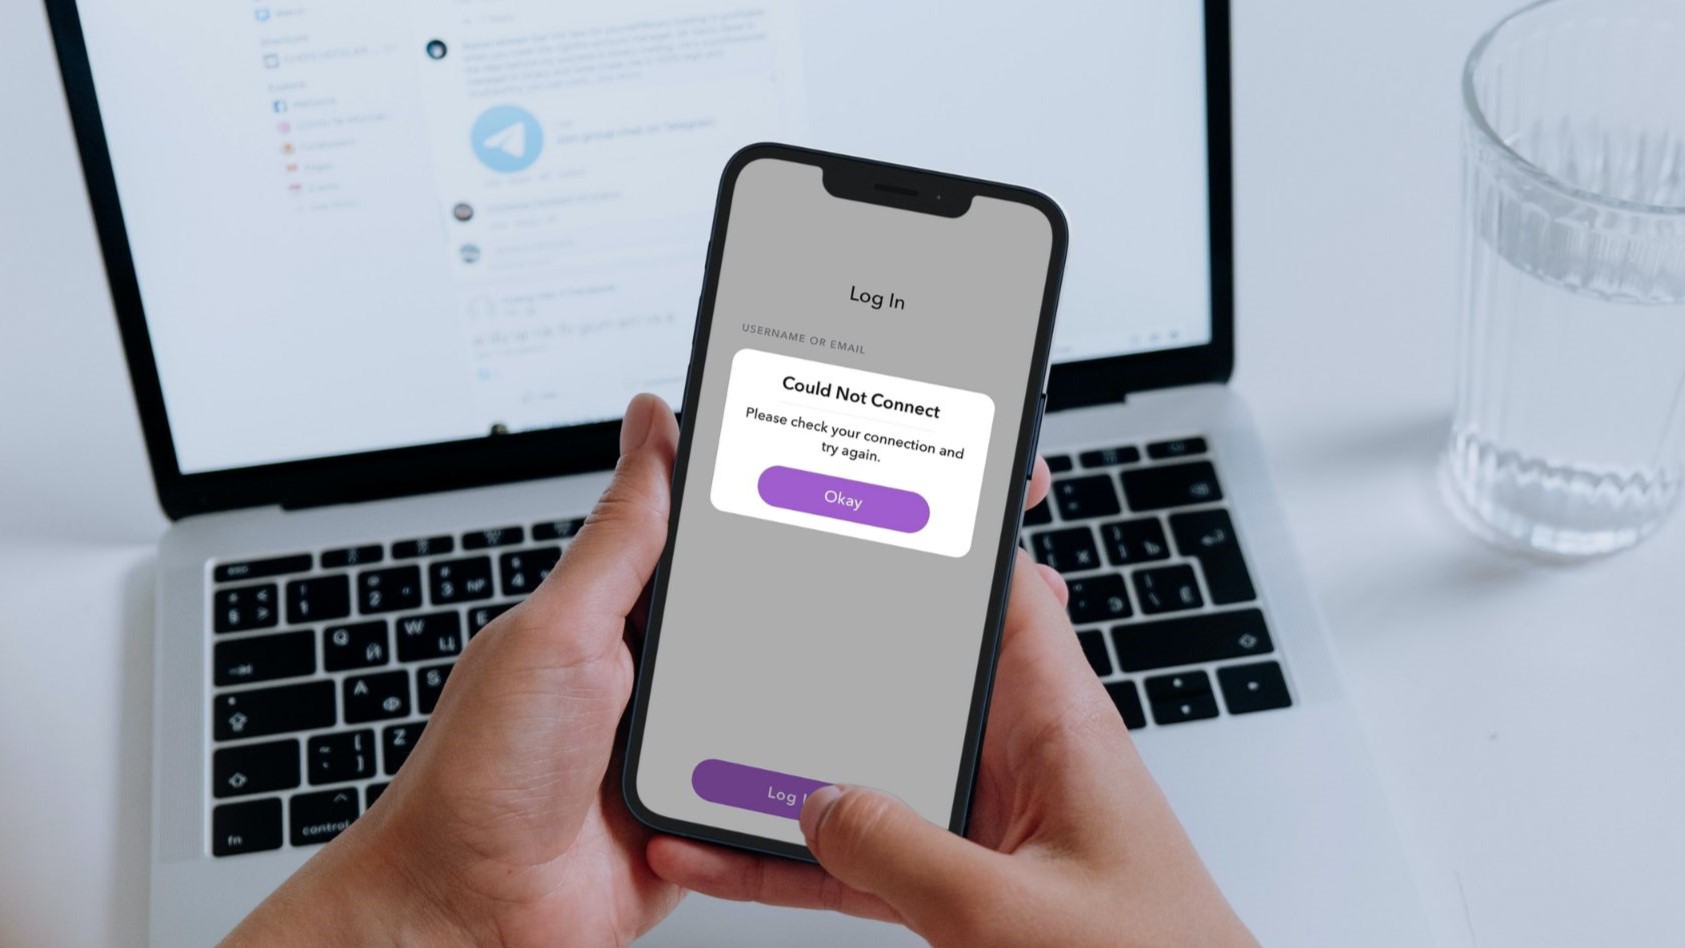
Snapchat competes with other social media giants by offering a unique set of features and constant improvements. However, it’s not uncommon for Snapchat to annoy you with an error or two from time to time. One such instance is when Snapchat throws a ‘Could Not Connect’ on your Android or iPhone.

The reason behind this error could easily range anywhere from a temporary glitch to corrupted cache data. In any case, troubleshooting the error shouldn’t take long once you employ the troubleshooting tips below. So, let’s check them out.
1. Force Close and Reopen Snapchat
When an app like Snapchat starts misbehaving or throwing errors, you should first close strength it and open it again. This will often fix any temporary issues with the app and get it to work again.
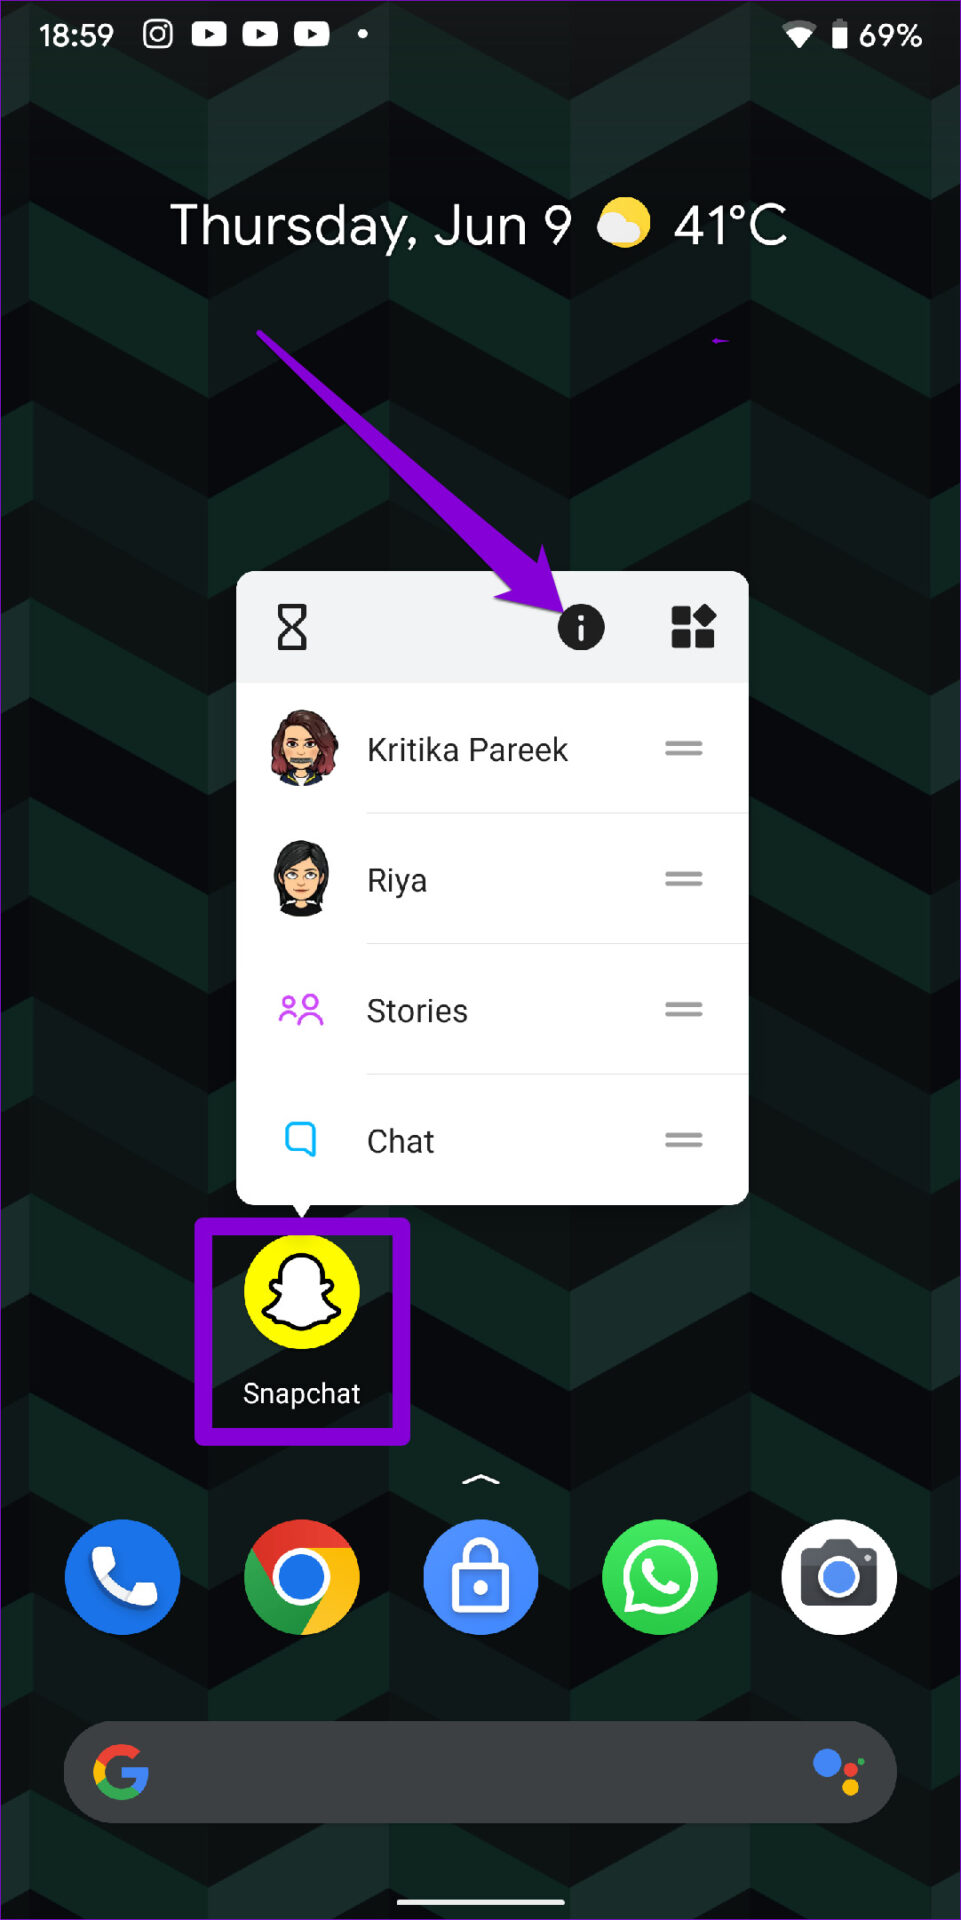
To force stop Snapchat on Android, long-press on its app icon and tap on the info icon from the menu that appears. On the app info page, tap on the Force stop option.
If you’re using Snapchat on an iPhone, swipe up from the bottom of your screen and pause halfway to bring up the app switcher. Locate and swipe upwards on Snapchat to close it.

Reopen Snapchat and see if the ‘Could Not Connect’ error pops up again.
2. Check If Snapchat Is Down
Problems with Snapchat’s servers can also cause such errors in the app. If the servers are down, the app will fail to communicate with them and will continue throwing errors at you. You can verify this quickly by visiting a website like Downdetector.

On the Downdetector page, you can check Snapchat’s server status and confirm if others are experiencing similar issues.
3. Enable Mobile Data for Snapchat (iPhone)
Your iPhone lets you manage mobile data permission for each app separately. If you’ve denied mobile data usage for Snapchat, the app will fail to connect with the servers and bug you with such an error.
To fix this, open the Settings app on your iPhone. Scroll down to tap on Snapchat and toggle on the Mobile Data option from the following menu.
Try using Snapchat again to see if the error still occurs.
4. Uninstall Unauthorized Apps and Plugins
Another reason Snapchat may throw the ‘Could Not Connet’ error is if you’ve installed any unauthorized apps and plugins for Snapchat. In some instances, Snapchat may even log you out and lock your account if you use apps such as Snapchat++, Phantom, Sneakaboo, and others.
To resolve this, uninstall any unauthorized apps and try using Snapchat again.
5. Avoid Using VPN
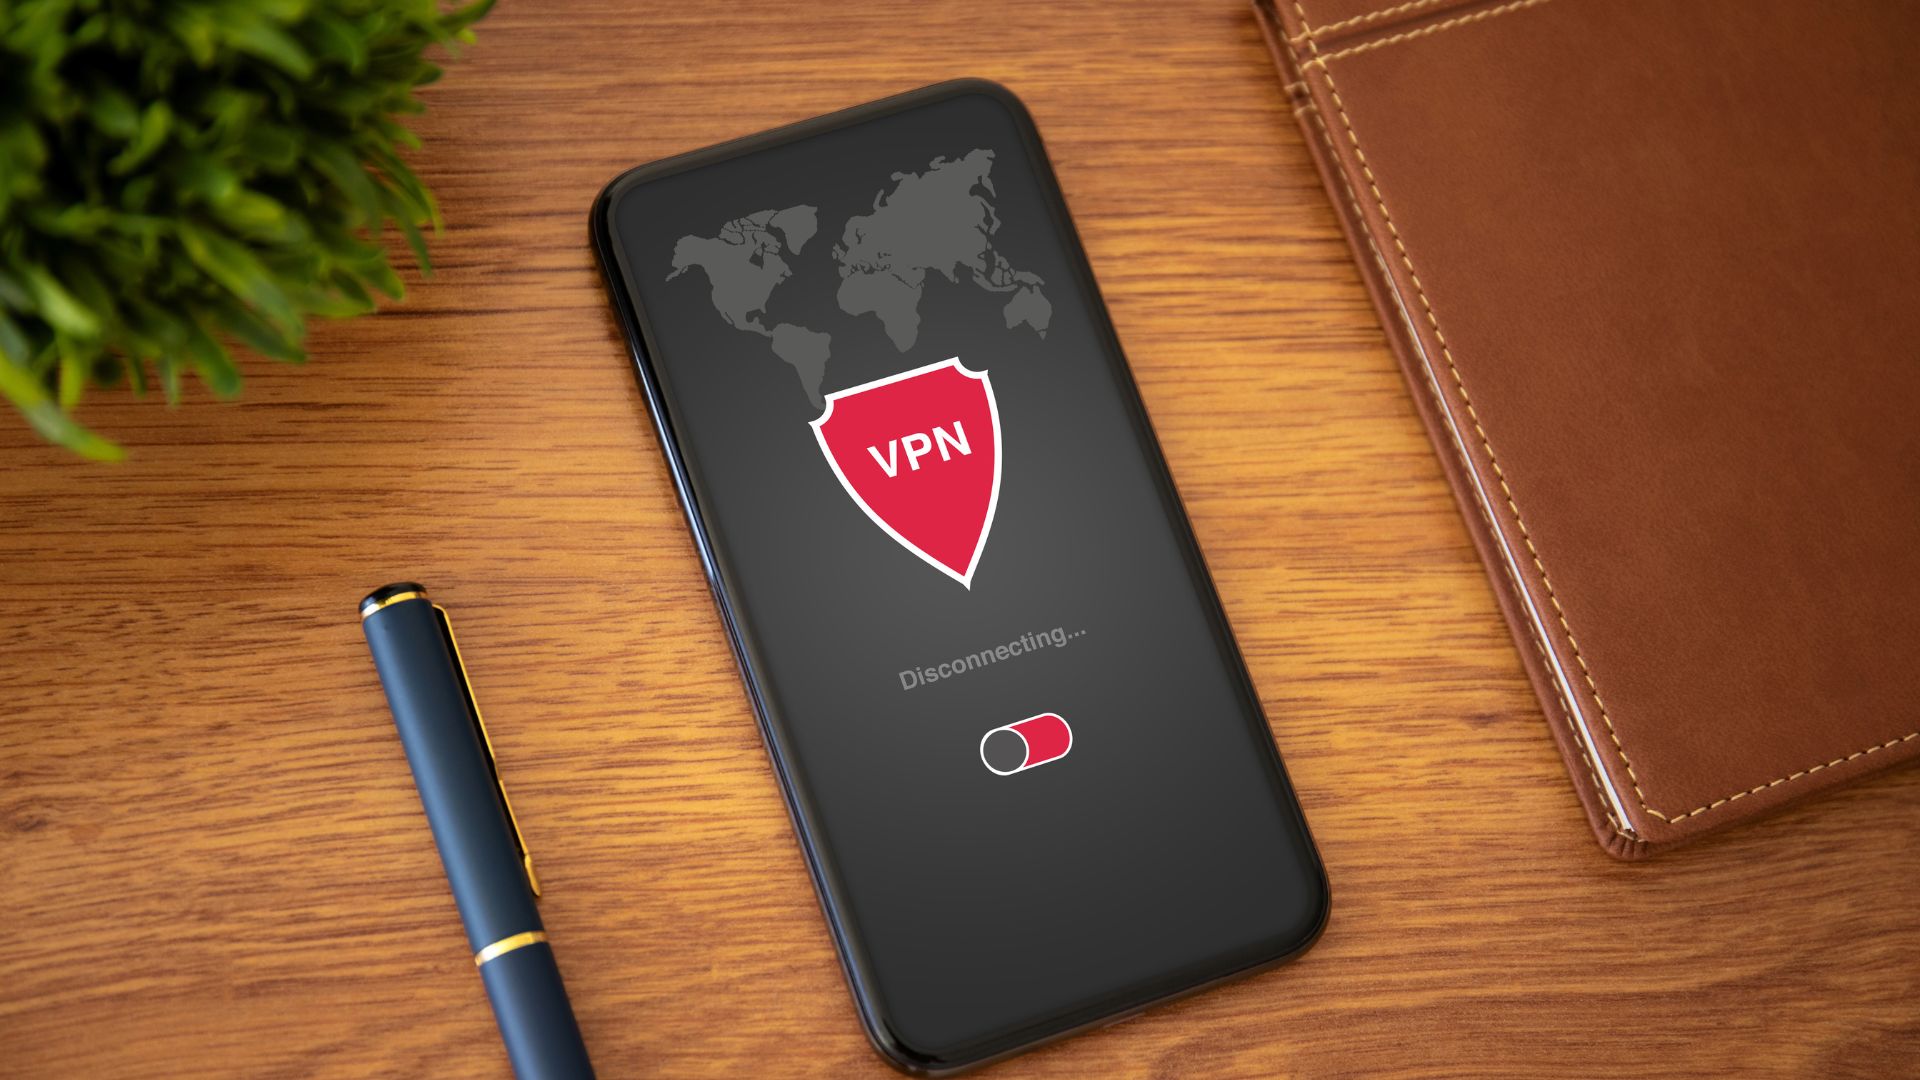
Are you using a VPN service? If yes, you may encounter problems while using Snapchat, especially logging in. Snapchat recommends that you disable any VPN services or switch to a different network connection to eliminate such errors.

6. Clear App Cache
Overwhelming cache data can also prevent an app from working correctly at times. For such occasions, Snapchat lets you clear cache that cache data from the app itself. Here’s how you can access it on your Android or iPhone.
Step 1: Open Snapchat on your Android or iPhone.
Step 2: Tap on the Profile icon in the top left corner.

Step 3: Tap on the gear icon in the top right corner to open Snapchat Settings.

Step 4: Scroll down to Account Actions and tap on the Clear Cache option. Choose Continue when prompted.
If you can’t seem to access Snapchat’s settings page because of the error, you can also clear Snapchat’s app cache on your Android phone with the steps mentioned below.
Step 1: Long-press the Snapchat app icon and tap on the info icon from the resulting menu.

Step 2: Go to Storage & cache and tap on Clear cache from the following menu.
Restart the app after this and see if it works fine.
7. Update Snapchat
The ‘Could Not Connect’ error in Snapchat can also occur if you’re using an outdated app version. You can visit App Store or Play Store on your phone and install any pending updates for Snapchat to see if that helps.
Connecting People
Such errors on Snapchat shouldn’t be why you miss out on important updates from your friends and family. Going through the above tips should help you eliminate the ‘Could Not Connect’ error on Snapchat. In the unlikely event that doesn’t happen, you can consider uninstalling the app and installing it again.
