Google Camera Port for Redmi Note 8 Pro

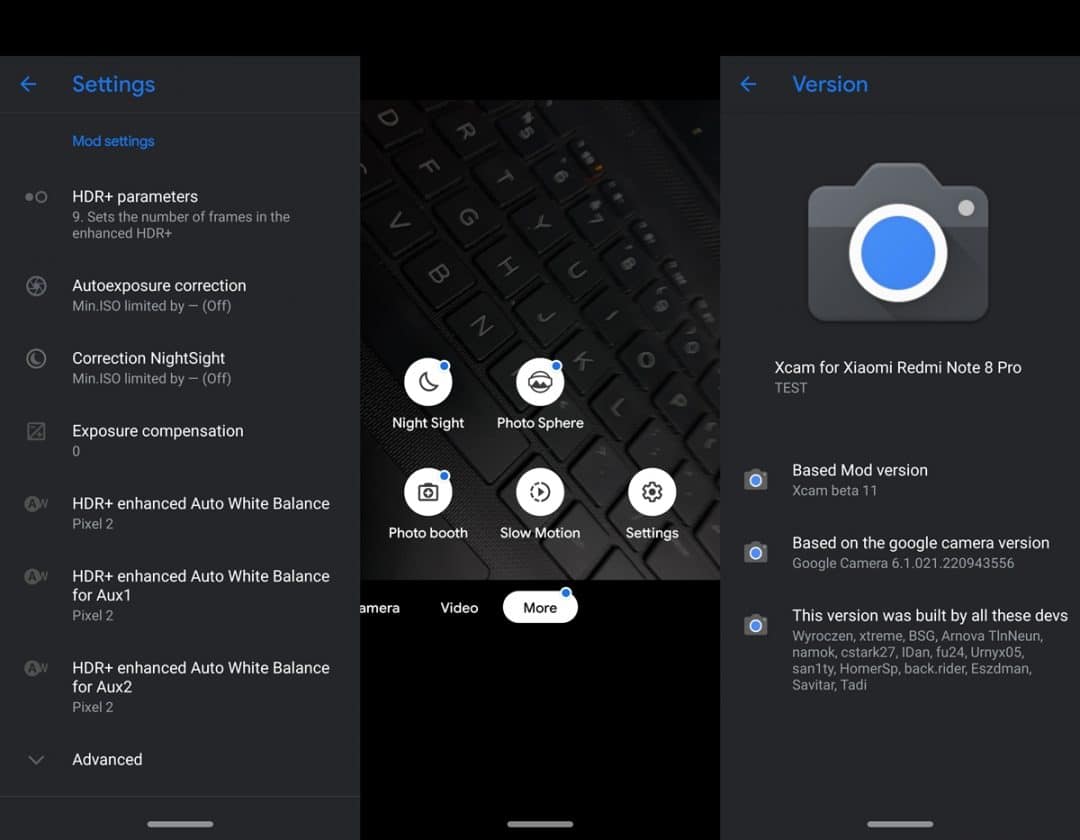
Although the initial development of this GCAM port seems like a daunting task. But once out, we could find all the features needed by GCam. These include HDR +, Lens Blur, Panorama, Portrait, Night Sight, Photo-Sphere, Photomat, Slow Motion.
Downloads
Before starting the installation steps, download GCAM and its corresponding XML file from the links below.
GCam installation steps

- Install Google Camera Port for Redmi Note 8. Also upload the corresponding XML file to your device's internal storage.
- When installing GCam APK, you may need to allow the installation from unknown sources.
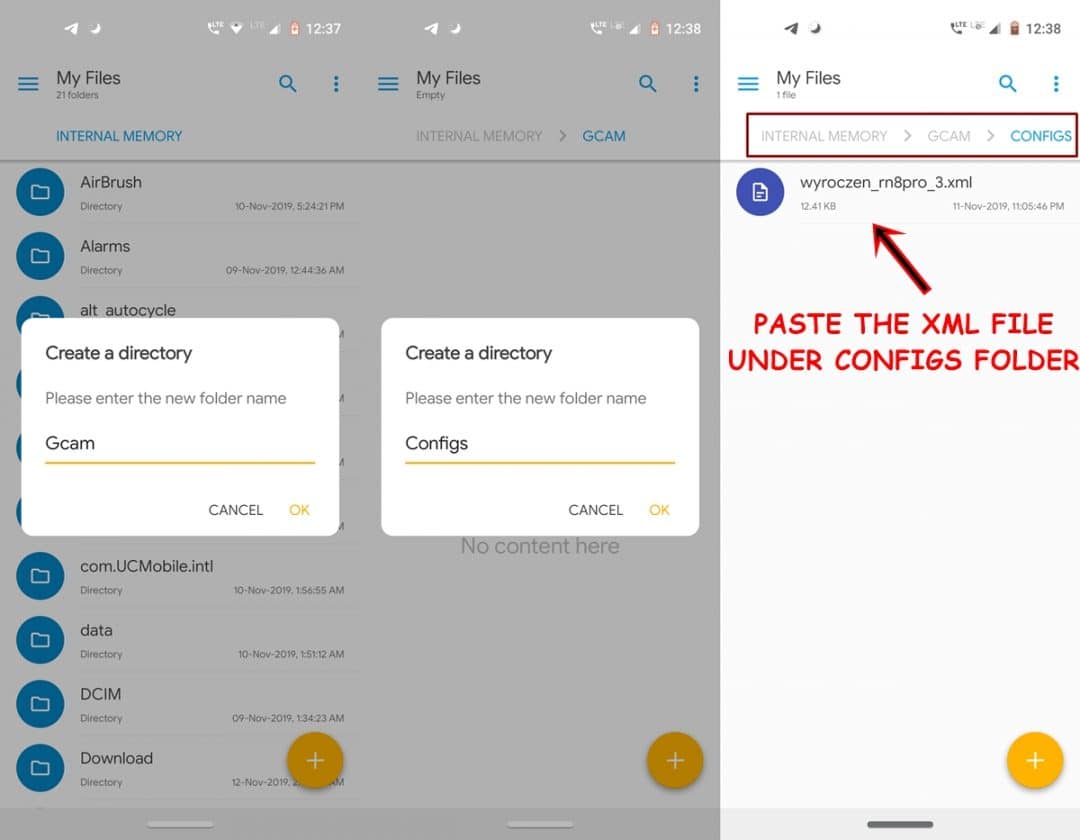
- Now open any file management application and create a new folder named GCam.
- In this folder, create another folder with the name Configs. Place this XML configuration file in the Configs folder. Without this XML file, you may be faced with some issues related to the Google Camera for your Redmi Note 8 Pro.
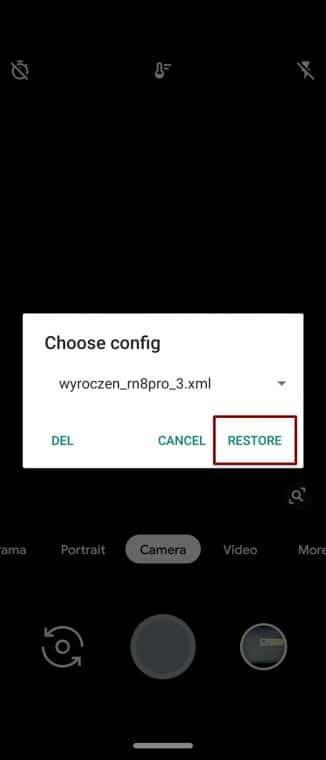
- Then open the GCAM and tap on the dark area between the camera shutter and the preview option of the image.

- A Choose a Configuration dialog box now appears with the wyroczen_rn8pro_3.xml file. Just press the Restore option.
That's it. Now open the Google Camera Port on your Redmi Note 8 Pro and start taking great pictures. The main feature of the configuration file is to automatically configure GCam according to the most suitable settings. However, if you feel that the images do not comply with the requirement, you can change its settings, including the exposure level, noise, saturation, HDR level. You can also visit the correspondent xda-forum join the support thread and discuss this version of GCam.
Read more: Install Google Camera on OnePlus 7 Pro

